Every morning I go through the daily routine. Wake up, usually drive into work, check email, check out my daily visited websites, and if I am expecting any packages, track em'. Well UPS claimed that my Cobb springs will be arriving today, that means its time to prep the car so the springs can be installed within a few hours of hitting my hands. I had a few days before the arrival date so I had some planning to do. I ended up breaking the install over two days. The first day I got the front end complete but ran out of day light, so I waited until morning then started on the rear with a rested sun. I took pictures along the way however as I get further into the install the pictures become more sparse. This was the first spring install I've ever done, I did it solo and basically followed a how-to that another
subie owner created for people just like me.
The night before...
Verified that I have all tools needed to get the job done.

Night before prep work, making sure my
socketed wrench w/ 6MM hex T will work to get the strut apart. It worked perfectly.

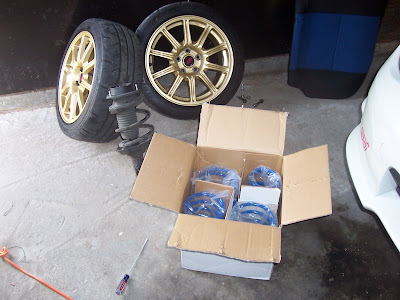
The individual pieces from the above picture...

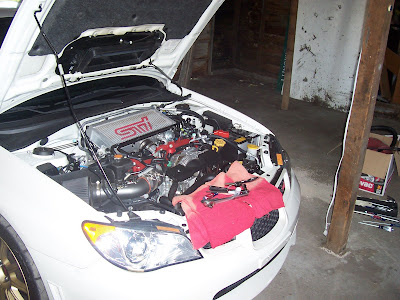
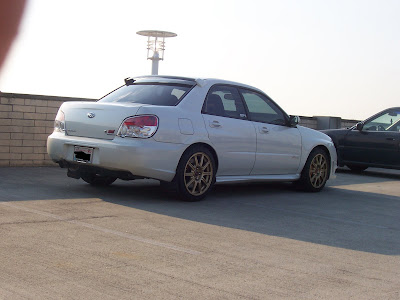
The last picture of the car in one piece with the
OEM springs.

I started by breaking loose the center 17MM
strut bolt and the surrounding 12MM bolts. I did this while the car was still on the ground. I left the 12MM nuts on a few threads in case the strut decided to come down it would not rip off the car.
Next I broke loose the 5 lug nuts on each front tire. I used my special 3 foot pipe with the crappy tool Subaru gave me to get them loose. Note that I did this while the car was on the ground. I just broke them loose so I would have no trouble removing the wheels once the car was on jacks.

I put down a few shop rags and placed some of the tools
I'll be using in a central location.
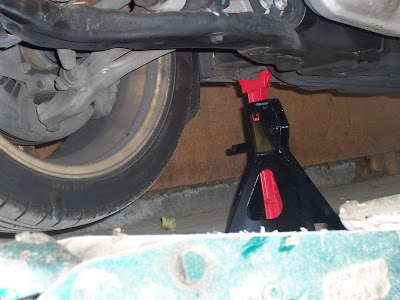
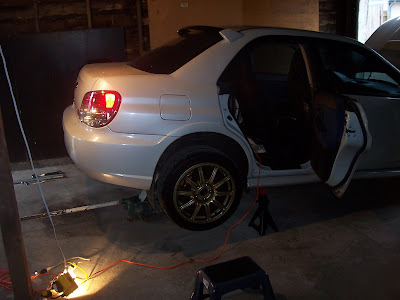
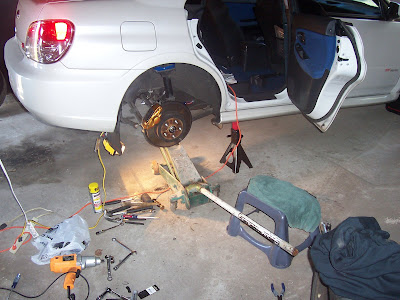
Get the front of the car in the air.

Put the jack stands in place and slowly lower the lift...

Next, take some PB Blaster and soak the two 12MM bolts for the bake and ABS lines then the two 19MM bolts (strut and camber bolt)

I've removed the 12MM bolts for the brake and ABS lines. Note that I stuck the bolts back in the holes in the strut itself so I wouldn't loose them. When the strut comes out you need to make sure to avoid damaging any of the brake lines.

Start to crank on those 19MM bolts....

I ended up putting my 3 foot pipe over the breaker bar from the picture above to get enough leverage to break the bolts loose. I also put painters tape on in case I struck the body with a tool.

After breaking the bolts loose I ended up using two
wrench's to get the bolts/nuts out. Remember where your camber bolts are placed (the ones on top, they should have 10 etched in them).

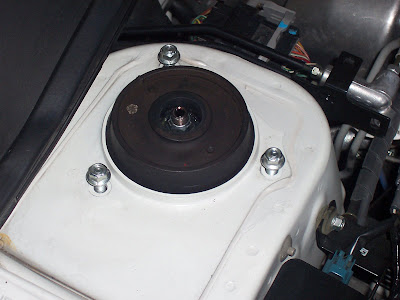
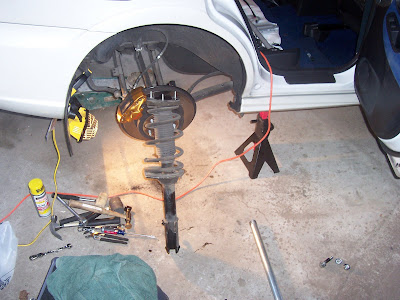
Once the bolts are out I stuck a punch and screw driver in the holes to keep the strut from falling when I remove the top three 12MM nuts.

This is what the strut still mounted in the car looks like...


The front passenger side strut removed.

This is the driver side with the strut out and taken apart. The spring has been removed (use spring compressors!)

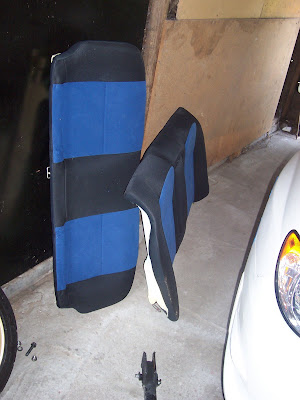
You have to remove the rear seat to get at the rear struts...

The new springs....
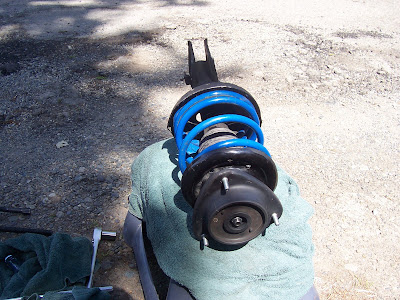
Front strut assembled, spring still has the compressors. This was the most difficult step of the install for me. The first front strut took over an hour to assemble correctly. My problem was I was not compressing the spring evenly, this would eventually turn the spring in the strut and
I'd have to loosen the the compressors and start over (the spring lines up to the grooves on the strut). I also ran into an issue with not compressing the springs enough to get the top hat back on.

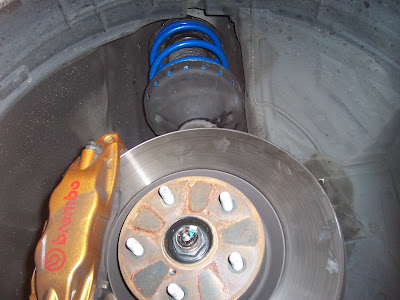
Front strut installed.


Now I start on the rears. The car is back on all fours. It's a relief to see the front end sitting on it's own
weight. I was able to access the struts by removing the rear seat. I
again busted loose the 17MM nut and the surrounding three 12MM nuts.

Get the rear in the air...

Rear bay after wheel has been removed.

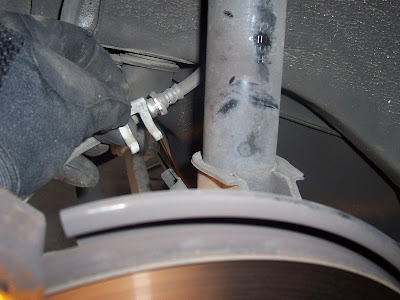
First step is to get the brake line out of the way. Unlike the front, the rear uses a single clip. I ended up using a flat head screw driver and hammer to nudge it loose. I am holding the clip in the picture below, to the right of the clip is the housing for the clip, this is part of the strut.
Rear strut removed.
Rear strut with new spring.

Strut assembled. The rear springs do not require compressors. This made the
strut disassembly/assembly very easy.

Strut installed in the car. This was the second hardest part of the install. Lining up the three 12MM bolts and trying to thread the nuts on so the strut would stay in place was very difficult task when doing this solo. You have to hold the strut from the wheel bay yet reach into the back of the cabin and thread the nuts on. What I did to get around this was I lined up the strut and stuck a screw driver into one of the bottom 19MM holes to keep it fixed on something. I then grabbed my lift and slowly pushed the entire unit up. As I slowly brought it up I constantly made sure to keep the top of the strut aligned with the three 12MM holes. I then put the nuts back on then put both the 19MM bolts back in (what a pain to get both lined up). Make sure you put the brake line back in the clip! I removed the lift and
bam, your strut is installed (don't forget to torque everything up). Also make sure you remember which direction the bolts came out.

Quick picture of the car sitting on its new springs. Directly after putting the car on it's own weight it looked like the rear ended was higher but after a few hours it kept getting lower. From what
I've read the springs need time to break in.

The old springs. Closest to the camera are the fronts.

The two pieces that never made it back onto the car. These are only covers for the hole to the strut in the rear of the car. The three 12MM bolts hold these in place. I had already torqued the bolts before I noticed I forgot to put them back on. Maybe one day they will make it back onto the car?

And Finally....


While the car definitly sits lower I honestly was expecting there to be sligtly less gap between the body and top of the tire however these are the new Cobb springs that have the reduced drop. Wel'll see how they settle in over the next couple weeks.


